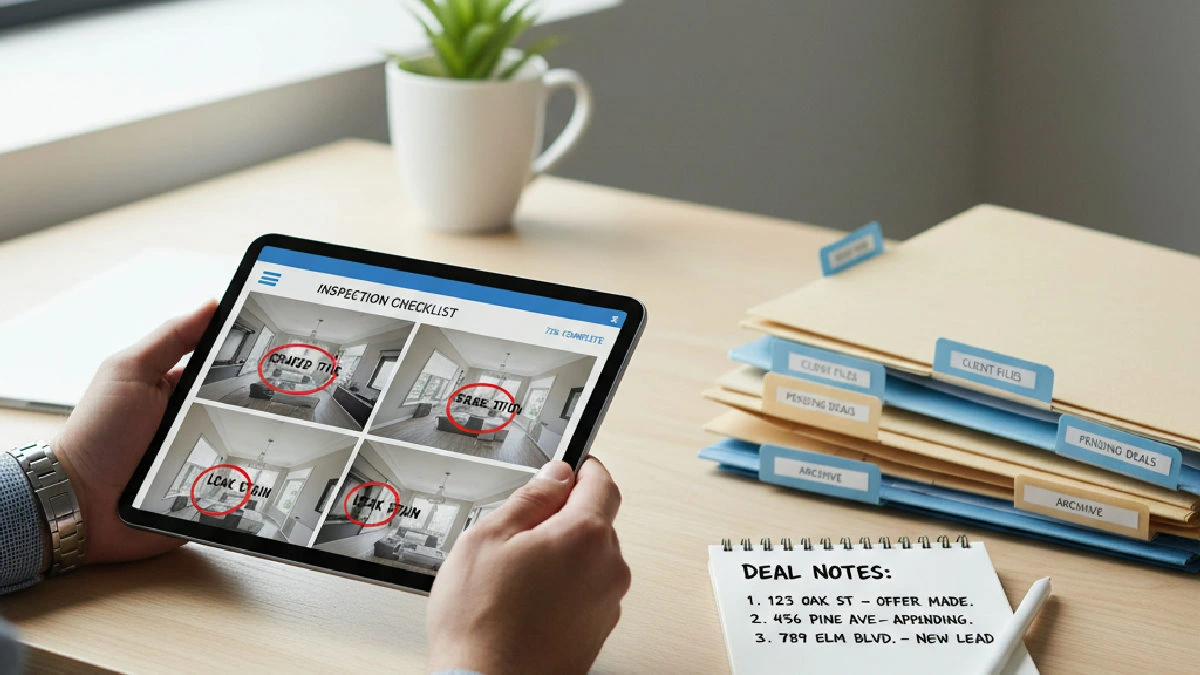
Keep it simple: one living system that ties property documents, inspection reports, and deal notes together. When these three things live in separate silos you waste time, miss risks, and make poor decisions. The goal: make every file, photo, and note findable, auditable, and actionable within a minute. (See how disconnected documents slow LOIs & due diligence.)
1) Start with a single source-of-truth for each asset
Choose one record where the asset lives and treat it as the canonical source: a cloud folder, your property management system, or a property record in your deal CRM. Don’t try to use six places because “we’ll sync them later.” We never sync them later.
What that one record needs:
- Property identifier (address or internal asset ID).
- Owner / manager / transaction lead contact fields.
- A link to the live document folder and clear pointers to inspection reports and deal notes.
Practical file structure (works on cloud or on-prem):
- Asset Root: /[Address]_[AssetID]/
- — Documents (leases, survey, title)
- — Inspections (checklists, annotated photos, PDFs)
- — Deal Notes (LOI, underwriting notes, decision log)
- — Work Orders (vendor invoices, before/after photos)
File naming matters more than folder depth. Use a simple template and stick to it: [Address]_[DocumentType]_[YYYY-MM-DD]_[Initials]. That saves minutes per search and prevents duplicates.
If you already use CREflow, keep the property record in Properties as the single source-of-truth: add the address/ID, link the live folder, and use the Property Detail page’s lifecycle information to show whether the asset is in a deal or campaign and which deal (if any) is linked. That reduces duplicate records and makes it obvious where to upload inspection PDFs and attach deal notes.
2) Run inspections that produce evidence, not opinions
Make every inspection a checklist with a header that captures the essentials: property address, inspection date, inspector name. That answers “who did this and when?” during due diligence.
Design checklists that force choices: good condition / needs attention / N/A. Require a short comment only when an item is flagged. Treat the inspection as triage first, diagnosis second. Keep the form short enough for a mobile workflow so inspectors complete it on site.
Photographs are the real currency. Attach annotated photos to each flagged line item. Don’t dump a 200-photo folder into the file—tie each photo to the specific item it documents and write a one-line caption like “east roof gutter leak — stain on kitchen ceiling.”
Prioritize findings inside the report by three buckets: immediate safety/structural, near-term maintenance, and monitor/notes for later. That prevents deal panic and helps scope repair budgets quickly.
Export the final report as a PDF for the official file and as a CSV or spreadsheet to feed your maintenance/work-order pipeline. Use the PDF as the auditable record; use the CSV to generate work orders and assign vendors.
3) Keep deal notes clean, dated, and connected
Deal notes are a decision log, not a chat transcript. Every time someone changes a material term, commits to a repair, or updates pricing, record it with a date and a short reason. (Also consider the real cost of storing deal notes in email when you pick where to keep notes.)
Structure each deal-note entry:
- Date / Author
- Decision or observation
- Linked documents (inspection X, lease Y)
- Impact (cost, schedule, scope) — qualitative if you don’t have numbers yet
- Next action / owner
When you underwrite or hand a property to operations, produce a one-page timeline: key red flags, who agreed to fix them, and where the money is supposed to come from. If you can’t produce that page in 10 minutes, simplify your notes format until you can.
Attach deal notes to the asset record so they live next to inspection PDFs and documents. In CREflow, linking notes and documents to the Property Detail or the Deal record ensures the context is visible to everyone who opens that asset or deal—so operations and asset managers don’t have to ask for files.
4) Choose tools that save actual time in the field
Tools aren’t magic—workflow is. Choose tools that match how your team works on site. Mobile-first inspection apps that allow photo annotation and voice notes reduce administrative friction: the inspector should be able to speak into the phone, snap photos, annotate, and finish the report without returning to a laptop.
Key tool requirements:
- Mobile capture: photos, voice notes, annotations.
- Exportability: PDF for records and CSV/Excel for work-order ingestion.
- Easy linking: attach reports to the asset record and to deal notes.
- Audit trail: who changed what and when.
When inspection or campaign follow-ups create tasks, push those items into a single queue so someone can act on them. If you use a system with an Action Center-like queue, it helps prioritize overdue and due-today items without hunting through multiple inboxes.
AI-assisted transcription or drafting can speed note-taking, but don’t use them to replace structure: use them to draft text that you then slot into your required fields (date, author, linked evidence, next action).
5) Handoffs, retention, and dispute prevention
Handoffs fail when decisions aren’t documented or tied to evidence. When you turn a property over to operations, give them three things: the one-page timeline, the inspection PDF, and a CSV of prioritized work items with links to photos. That gives O&M a clear start and reduces back-and-forth.
For disputes, photographic evidence plus dated inspection checklists are your best defense. If you photographed the condition before closing and the inspection report documents it, the remainder is negotiation—not mystery.
Archive closed transactions into a read-only area rather than deleting them. Keep the active folder lean. The archived copy is your audit trail if a claim or dispute appears later.
Mini case study: one acquisition, one folder, zero surprises
We walked into an off-market office where the seller provided a 40-photo set and a single narrative note. That’s how most deals start: scattered, vague, and optimistic. We enforced one rule — every photo and note had to be tied to a checklist line item in our inspection app and uploaded to the asset folder.
The checklist captured the inspector’s name, the date, and each item tagged as safety / maintenance / monitor. Flagged items had annotated photos and a short recommendation. The inspection exported as a PDF for the file and a CSV for work orders. Deal notes recorded the negotiation: seller to address roof flashing and provide HVAC receipts; those entries linked directly to the inspection items. When the seller delivered invoices, we uploaded them to the same folder and checked the item off in the inspection CSV.
Result: no surprises at closing, a clear post-close work-order list for the property manager, and a concise decision timeline to hand to onsite operations.
Key takeaways
- One living record per asset beats multiple siloed folders every time.
- Inspections must be checklists with annotated photos and prioritized findings.
- Deal notes are a decision log — date, author, link to evidence, next action.
- Export PDFs for records and CSV/Excel for workflows; that split saves time.
- Handoffs need a one-page timeline plus the inspection PDF and work-order CSV.
FAQ
How should we name files so searches don’t fail?
Use a fixed template: [Address]_[DocumentType]_[YYYY-MM-DD]_[Initials]. Keep document types short and consistent (Lease, Inspection, Invoice). Apply the same template everywhere—cloud, PM system, and deal CRM.
What’s the minimum an inspection report needs to include?
At minimum: property identifier, inspection date, inspector name, checklist items with condition choices, annotated photos tied to flagged items, and a prioritization (safety / near-term / monitor). Export a PDF for the file and a CSV for work-order intake.
How do we keep deal notes from turning into noise?
Treat each note as a decision or an action. No chit-chat. Every entry needs a date, author, what changed, and what’s next. Link to the evidence (inspection, contract amendment) so the note isn’t just opinion.
Can we use separate tools for documents and inspections?
Yes — but only if they link cleanly to the single asset record. If your inspection app can’t attach reports to the asset record or export data, it creates extra work. Choose tools that make linking and export straightforward.
What do we hand to operations after close?
A one-page timeline of decisions, the inspection PDF, and a CSV/Excel of prioritized work items (with photos linked). That’s enough for operations to start without calling you every ten minutes.
Actionable checklist
- Create one living asset record for each property and move all files into it.
- Adopt a simple file-naming template and apply it to the last 12 months of active files.
- Standardize inspections: header info, checklist, annotated photos, and priority buckets.
- Require every deal-note entry to include a link to evidence and a next-action owner.
- Export each inspection as PDF for the file and CSV/Excel for operations and vendors.
- Archive closed deals to a read-only area; keep active folders lean and current.
Do this once and the time you save on every future deal compounds. Organization isn’t a project — it’s a habit. Make it one.